


Cordless Clipper & Beard Trimmer Set: Pro Home Cuts
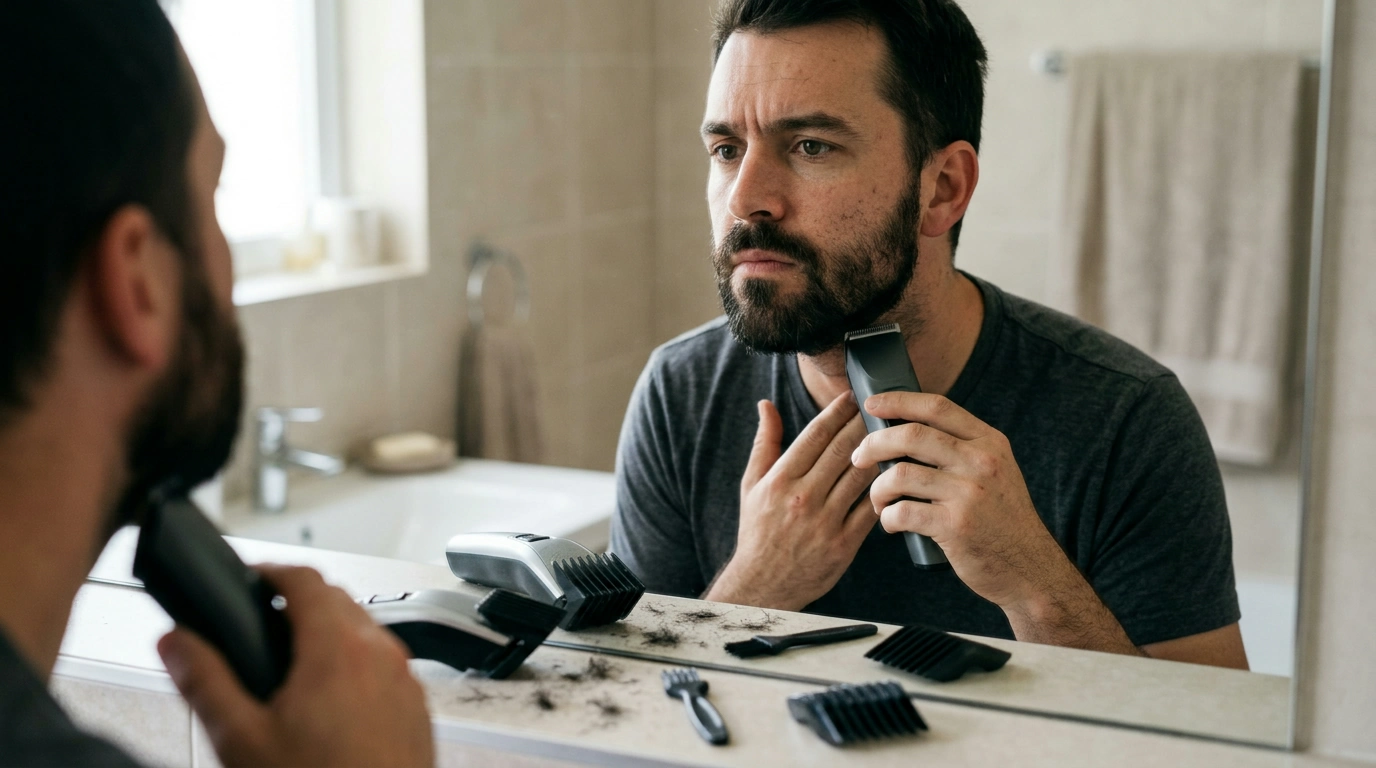
A cordless clipper-and-trimmer combo can simplify home grooming when it’s built for consistent cutting, comfortable handling, and quick cleanup. This guide breaks down what matters most in a professional-style set—then shows how to use it for haircuts, beard detailing, and routine maintenance without guesswork. For more guidance, see Electric Hair Clipper and Men Cordless Beard Trimmer ….
What a Professional-Style Grooming Set Helps With
- Full haircuts at home: quick bulk removal, tapering, and edging without juggling multiple tools.
- Beard shaping: crisp cheek lines, clean necklines, and controlled length for short beards to medium trims.
- Touch-ups between barber visits: sideburns, neckline cleanup, and around-the-ear detailing.
- Travel-friendly grooming: cordless convenience for gym bags and trips when outlets aren’t ideal.
Key Features That Make a Clipper-and-Trimmer Set Feel “Pro”
- Blade quality and alignment: sharp, well-seated blades reduce snagging and help produce cleaner lines.
- Motor consistency: steady power helps prevent patchy spots in thicker hair or dense beards.
- Cordless performance: reliable runtime and stable output so the cut doesn’t slow down mid-session.
- Ergonomics: balanced weight and an easy grip improve control for fades, edging, and self-cuts.
- Noise and heat control: lower vibration and less heat buildup improve comfort during longer sessions.
- Easy cleaning: removable heads or brush-friendly designs make it simpler to keep blades clear of hair.
If you’re prone to irritation, comfort details matter as much as cutting power. The American Academy of Dermatology has practical tips to reduce bumps and redness, especially on the neck and jawline: Tips to prevent razor bumps and irritation. For further reading, see Best Beard Trimmer for You.
Clipper vs. Beard Trimmer: When to Use Which
- Use the hair clipper for bulk cutting: removing length quickly on the top, sides, and back using guards and longer settings.
- Use the beard trimmer for precision: shaping moustaches, goatees, and beard borders, especially in tight facial areas.
- Edge work: for sharp lines along the neckline and around ears, switch to the tool that offers the most control and visibility.
- Sensitive areas: a trimmer is often easier to maneuver around the lips, chin cleft, and under the nose.
Quick Task Guide: Which Tool to Grab
| Grooming task | Better choice | Why it works |
|---|---|---|
| Buzz cut / bulk hair removal | Hair clipper | Covers more area quickly and handles thick hair better |
| Skin-near edging and outlines | Beard trimmer | Better visibility and control for detail work |
| Beard length maintenance | Beard trimmer | More precise for short-to-medium facial hair |
| Sideburn blending | Hair clipper | Smoother transitions with guards and taper technique |
| Neckline cleanup between cuts | Beard trimmer | Fast touch-ups without redoing the whole haircut |
How to Use a Cordless Set for a Clean Haircut at Home
- Start with dry, detangled hair for the most predictable results; wash and fully dry if there’s heavy product buildup.
- Pick a longer guard first: it’s easier to go shorter than to fix an accidental shortcut.
- Work in sections: sides first, then back, then top—using consistent stroke direction for even cutting.
- For fades: step down guard lengths gradually and blend each transition before moving lower.
- Check symmetry: pause and look straight-on in the mirror often, especially around temples and sideburns.
- Finish with detail passes: refine around ears and neckline with light pressure to avoid uneven spots.
A practical self-cut rhythm is “remove, refine, then outline.” Remove bulk with the clipper and a safe guard length, refine any heavy areas by overlapping passes, then switch tools (or remove guards) only when you’re ready to define borders. That order helps avoid chasing mistakes around the head.
Beard Shaping Basics: Lines That Look Intentional
- Cheek line: follow natural growth for a fuller look; clean only strays above the line to avoid a “drawn-on” curve.
- Neckline: set it above the Adam’s apple and curve to behind the jawline; keeping it too low often makes the beard look unkempt.
- Moustache: trim conservatively at the lip line and refine corners gradually.
- Length strategy: maintain the bulk with a guard, then remove the guard for careful border cleanup.
- Avoid irritation: use short, light passes on sensitive neck skin and avoid repeated scraping over the same spot.
For a cleaner finish, do your outline work under bright lighting, then step back and check both sides. Small differences in cheek height or neckline curve show up more in photos and daylight than in the bathroom mirror.
Cleaning, Oiling, and Hygiene for Better Performance
Common Issues and Simple Fixes
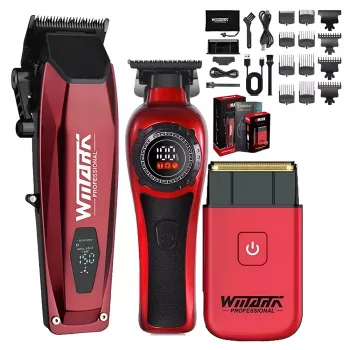
A Ready-to-Go Option: Cordless Hair Clipper and Beard Trimmer Set
Professional Electric Hair Clipper and Beard Trimmer Set for Men – Cordless Grooming Kit
Also Available
FAQ
How often should clipper and trimmer blades be oiled?
For most at-home routines, oil after each use (or every few uses if you trim lightly). If you hear more noise, feel extra heat, or notice pulling, it’s usually time for a drop or two—run the tool briefly, then wipe away excess.
Can one set handle both head hair and beard trimming?
Yes—use the clipper for bulk hair removal and blending with guards, then switch to the trimmer for tighter detailing around lips, corners, and edges. If you move between head and beard, clean the blades and attachments so you’re not transferring oils or skin debris between areas.
What’s the easiest way to set a natural-looking beard neckline?
Start about two fingers above the Adam’s apple, then curve the line back toward the jaw and up behind the ears. Begin a little higher than you think, check symmetry, and lower gradually—setting the line too low often makes the beard look less defined.













Leave a comment